
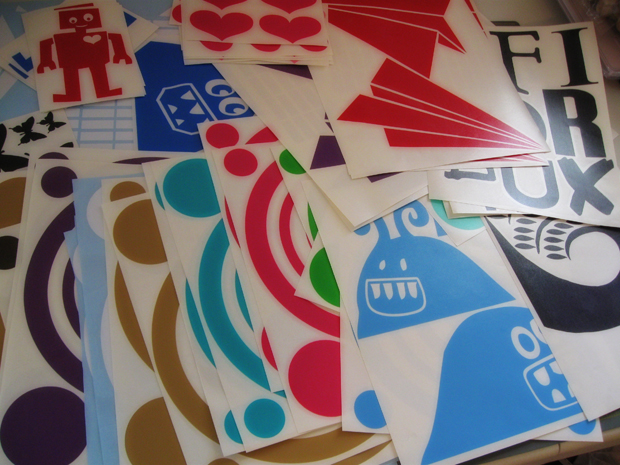
This is a tutorial (with photos!) to illustrate the decal application process. It’s the same basic process for laptop decal application as well.

Graphics can be applied to walls, wood, glass, metal, etc. Your surface should be clean, dry, smooth and free of dirt or dust.
 Your wall graphics have been cut and are sandwiched between a white backing paper and a top layer of clear transfer tape. Lay each decall on a flat surface, graphic side down. Press firmly over the entire decal with the edge of a credit card or similar object. You are re-activating the bond between the decal and the clear transfer tape.
 Arrange your wall art on your surface by placing a piece of tape on the top edge of the graphic. Make sure you are happy with your layout before you begin applying the graphics, wall art is removeable but it is not repositionable.
 Flip the decal up, using the tape as a hinge. Starting from any corner, slowly peel the white backing away from the transfer tape, the vinyl decal should be sticking to the transfer tape. If some of the decal remains stuck to the white backing, stop. Rub down on the transfer tape in that area and slowly continue peeling until the white backing is completely removed.
 Lower your decal against the surface and slowly use your credit card (or hand) to press down on the decal, starting center and working your way out to the edges of the decal. Finish the application by rubbing over the entire graphic to remove any air bubbles.
 Gently peel back that clear transfer tape away from the design at a 180 degree angle (flush with the wall).
Removing your design is easy! Just peel up a corner of the decal and slowly remove it. Blasting the decal with a hair dryer on low heat for a few seconds will help make the decals even easier to remove.
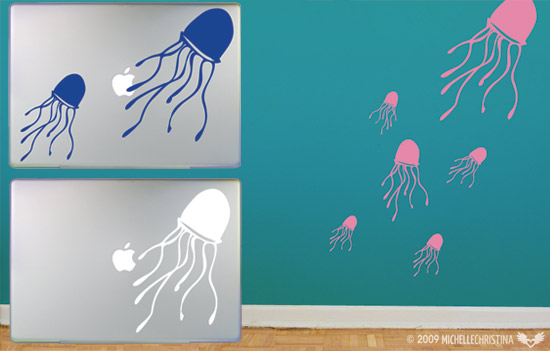
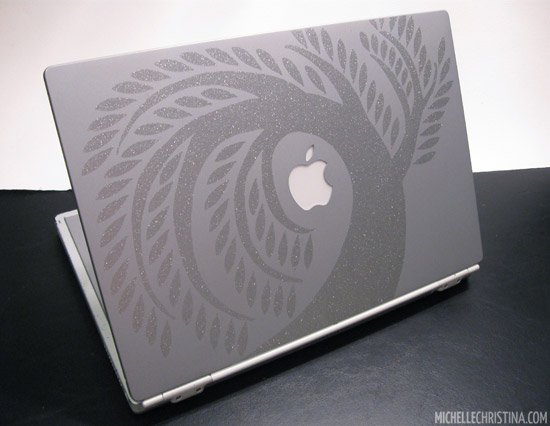
Check here for instructions on how to apply your laptop decal.

2 Comments
Your blog came up in my search and I’m stricken by what you have written on this subject. I am currently branching out my search and thus cannot contribute further, still, I have bookmarked your website and will be returning to keep up with any upcoming updates. Just love it and thanks for allowing my comment.
I am stricken by the way you addressed this topic. It is not often I come across a website with entertaining articles like yours. I will note your feed to stay up to date with your potential updates.Just brilliant and do keep up the good work.