
Here’s a quick and easy photo tutorial that illustrates how to apply a die cut vinyl decal to your laptop.
Prepare
 You will need masking tape & a credit card or squeegee and a clean laptop (no seriously, clean it before you stick a decal on it). Your vinyl laptop decal is sandwiched between a white backing paper and a top layer of clear transfer tape. Lay the decal on a flat surface, graphic side down. Press firmly over the entire decal with the edge of a credit card. (You are re-activating the bond between the decal and the clear transfer tape.)
Tape
 Place your decal face up on top of your laptop. Use a few pieces of tape to make a hinge across one edge of the decal & laptop. Make sure your decal is positioned the way you’d like it to be applied. I’m holding up my mac in this photo to show the tape acting as a hinge – it’s wrapped over the edge and all the way to the back of the laptop.
Peel
 Once your decal is taped down on one edge, you’re going to peel up the clear top layer of transfer tape – the decal will stick to this layer. Note: If pieces of the decal aren’t transferring, then lay the transfer tape back down & smooth over with a credit card – and use a little elbow grease this time.
 After the decal has been transferred completely to the clear tape, you can discard the white backing paper.
Apply
 Hold the decal & transfer tape layer taut with one hand and slowly use your credit card to press down on the decal, taking one light stroke all the way down the center.
 Apply the rest of the decal by starting at the center and working your way out to the edges of the decal. Finish the application by rubbing over the entire graphic to remove any air bubbles.
More Peeling
 Remove the tape hinge & gently peel back that clear transfer tape. Tip: Don’t pull straight up on the transfer tape, try to keep your hand down low, close to your computer & pull back slowly.

Finished!
Removing your design is easy! Just peel up a corner of the decal and slowly remove it. My laptop decals generally leave very little residue behind, just make sure you are peeling the decal off while the laptop is cold.
Questions about the process? Send me an email!
Feel free to check out the wall decal application tutorial as well.
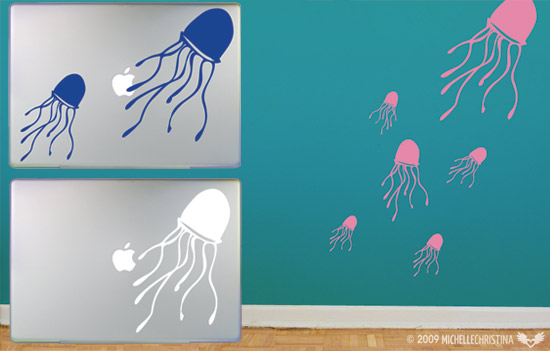
P.S. You can find this weeping willow laptop decal in the shop.

8 Comments
Thanks so much, this was a HUGE help!
Thank you very much…….
Hey michelle, thanks a lot for ur help,, love a lot….
Thank you very much for this info. I have recently bought an Ironman attitude mask vinyl laptop decal..
Of all the sources that I scoured through (e.g., YouTube, Google), your tutorial was the most helpful, by far. Thank you!
wow! this is awesome tutorial, one thing I wanted to ask you…what would happen of the logo like I’m using Sony vaio that has a quite big logo embossed on the lid surface. The decal has to be pressed and slide using credit card on the lid surface and that has to be travel over logo too, after applying wouldn’t the logo seems engraved over the decal..this is quite confusing for me as I haven’t applied one yet. Help appreciated.
PS: You have such a beautiful hands :)
Great help ! Tried the same with a Dell laptop skin and it worked like a charm !
thank u so much